Popular Slingshots
-
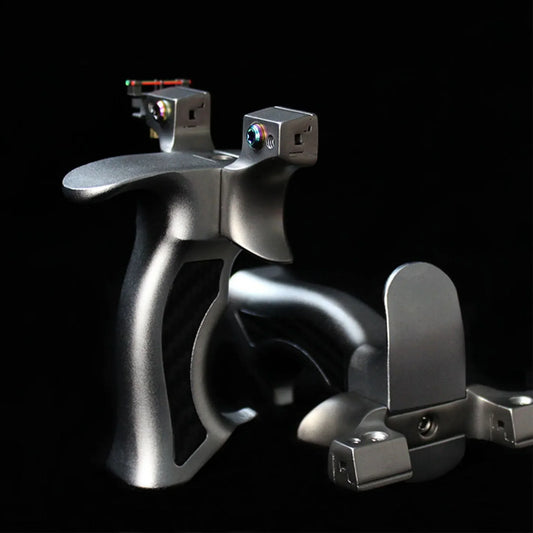
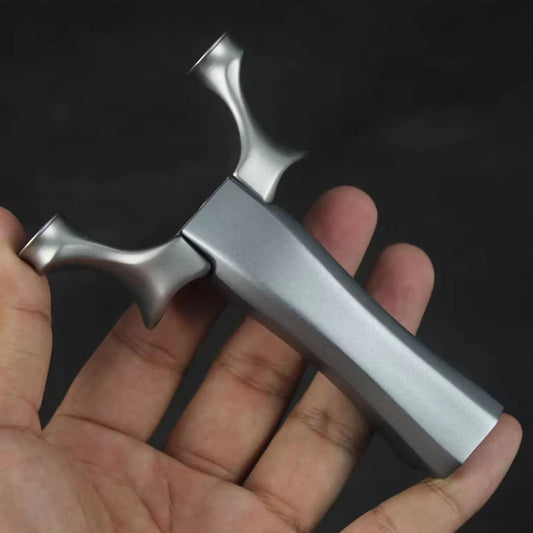
630 Stainless Steel Pro Slingshot – CNC Precision Shooting Trainer
Vendor:CoketorRegular price $68.00 USDRegular price$148.00 USDSale price $68.00 USDSale -
Ultra-Light 269g Slingshot – Aerospace Aluminum Shooting Trainer
Vendor:CoketorRegular price $48.00 USDRegular price$138.00 USDSale price $48.00 USDSale -
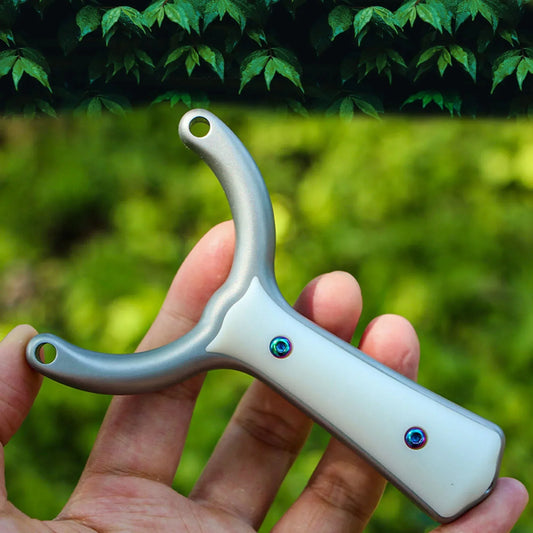
Competition-Grade CNC Slingshot – Titanium Alloy Shooting Trainer
Vendor:CoketorRegular price $78.00 USDRegular price$158.00 USDSale price $78.00 USDSale -
Competition Titanium Slingshot – Wood Handle Precision Shooting Trainer
Vendor:CoketorRegular price $78.99 USDRegular price$198.00 USDSale price $78.99 USDSale -
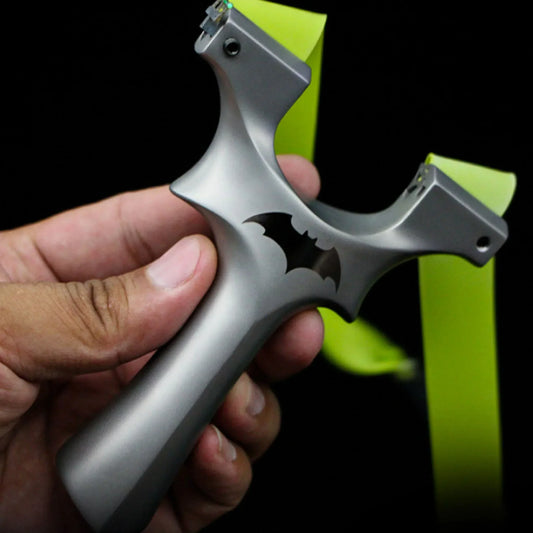
Rooster King Round Head Shooting Trainer – Aerospace Aluminum Slingshot
Vendor:CoketorRegular price $48.00 USDRegular price$128.00 USDSale price $48.00 USDSale -
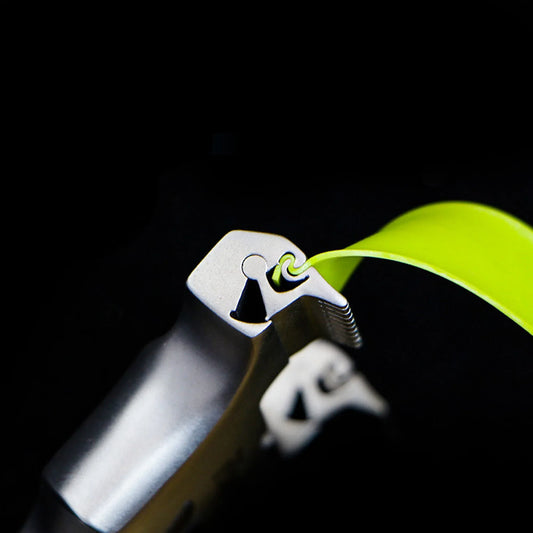
Butterfly Skill Shooting Trainer – 630 Steel & TC21 Titanium Dexterity Tool
Vendor:CoketorRegular price $49.99 USDRegular price$120.00 USDSale price $49.99 USDSale -
Blue Tiger 180g Stainless Steel Slingshot – Portable Shooting Trainer
Vendor:CoketorRegular price $38.99 USDRegular price$108.00 USDSale price $38.99 USDSale -
Compact Vertical Slingshot – 630 Steel Bow Head Shooting Trainer
Vendor:CoketorRegular price $68.00 USDRegular price$148.00 USDSale price $68.00 USDSale


Premium Slingshot Accessories
-
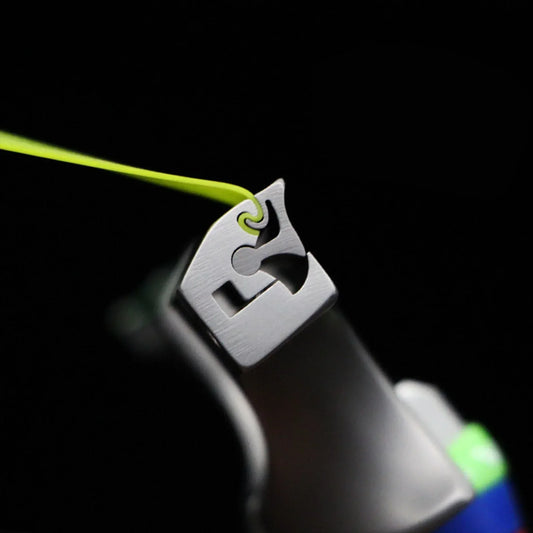
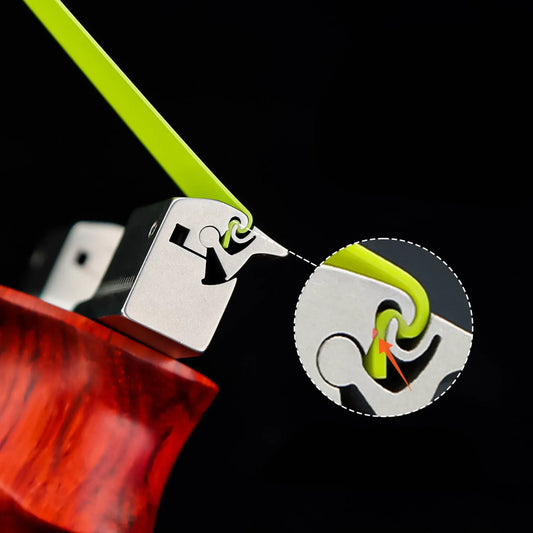
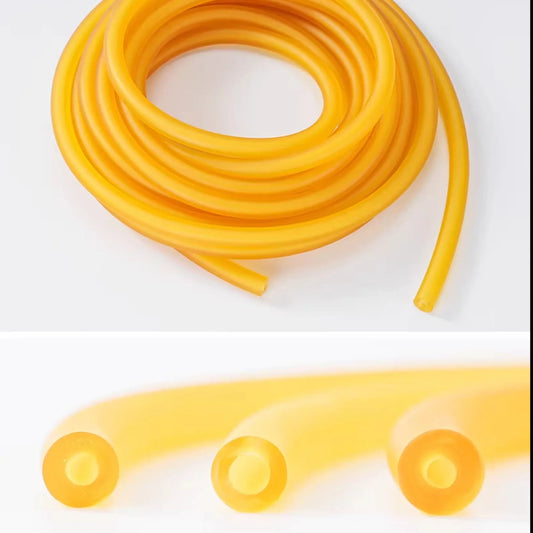
5m High-Elasticity Latex Tube Bulk Pack for Sport Trainers
Vendor:CoketorRegular price $19.88 USDRegular price$26.80 USDSale price $19.88 USDSale -
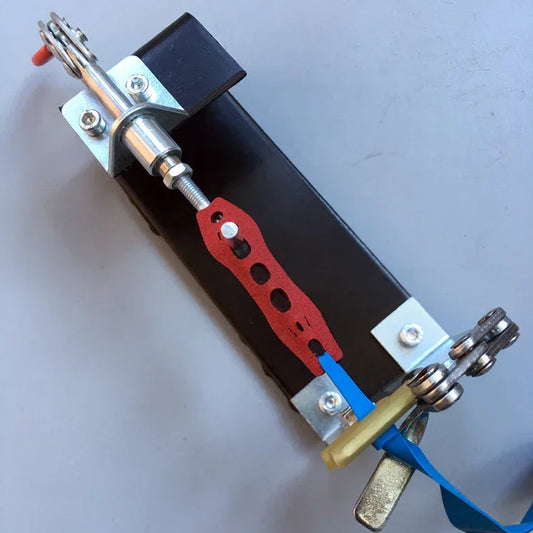
Desktop Band Tying Tool for Sport Trainers – Includes Elastic Bands
Vendor:CoketorRegular price $28.99 USDRegular price$35.99 USDSale price $28.99 USDSale -
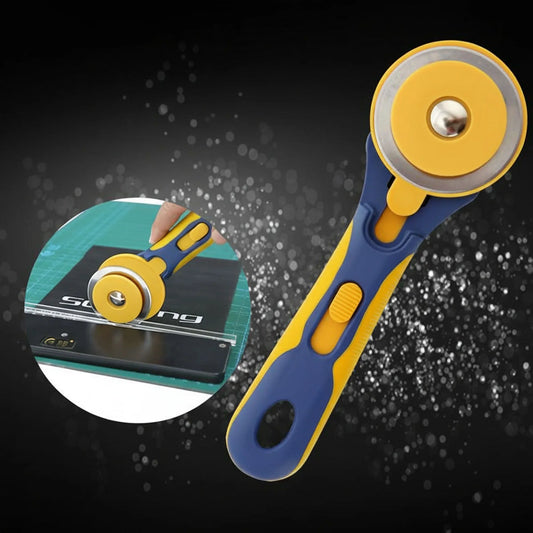
60mm Rotary Cutter – SKS-7 Steel Blade for Bands & Leather
Vendor:CoketorRegular price $25.99 USDRegular price$32.66 USDSale price $25.99 USDSale -
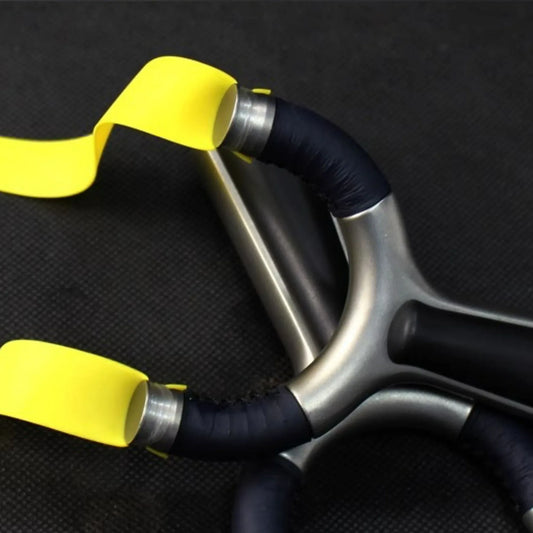
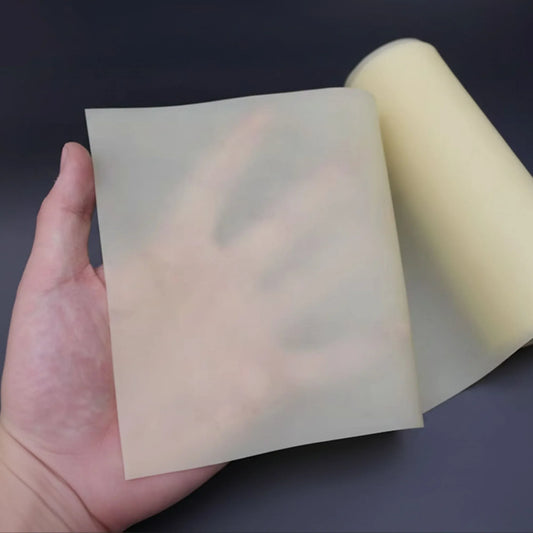
Professional Natural Rubber Flat Bands – 0.55mm to 1.2mm Thickness
Vendor:CoketorRegular price $18.99 USDRegular price$26.88 USDSale price $18.99 USDSale


Training Accessories
-
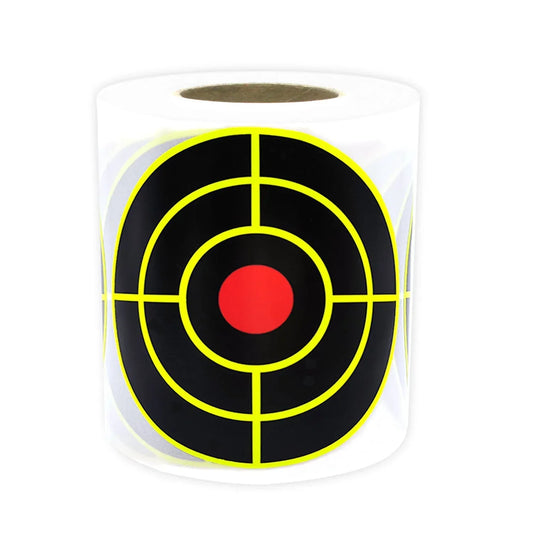
Fluorescent Splatter Target Stickers – 3-Inch Hit-Reveal 100pcs
Regular price From $8.99 USDRegular price$15.80 USDSale price From $8.99 USDSale -
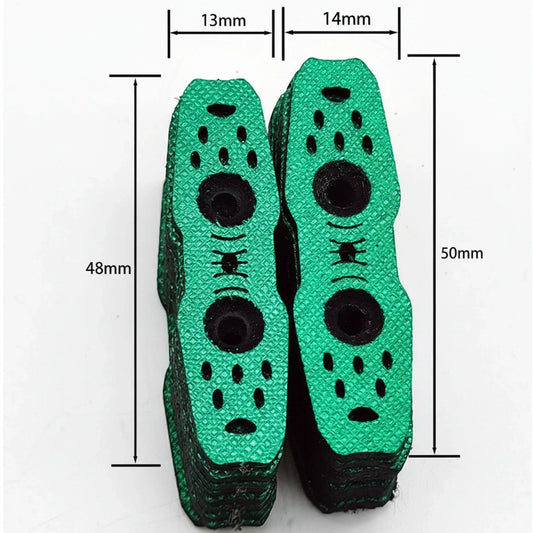
Noise-Reducing Suede Training Pouches – 20pcs (46/48/50mm)
Regular price $8.99 USDRegular price$15.80 USDSale price $8.99 USDSale -
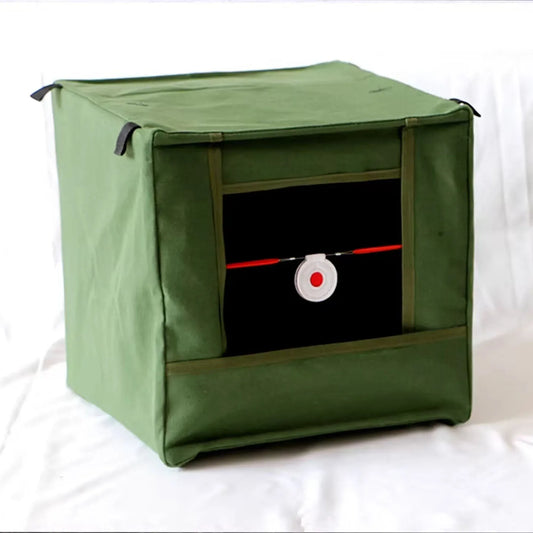
Foldable Shooting Target Box with Ball Recovery – Noise-Dampening Canvas
Regular price From $23.99 USDRegular price$68.00 USDSale price From $23.99 USDSale -
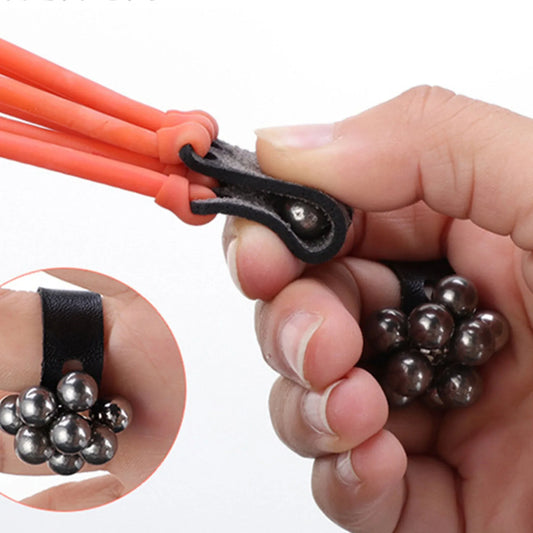
Quick-Reload Magnetic Ring for Shooting Training – Holds 20 Steel Balls
Regular price $8.99 USDRegular price$12.88 USDSale price $8.99 USDSale